 K0SWE Blog
PCB arrived, but...
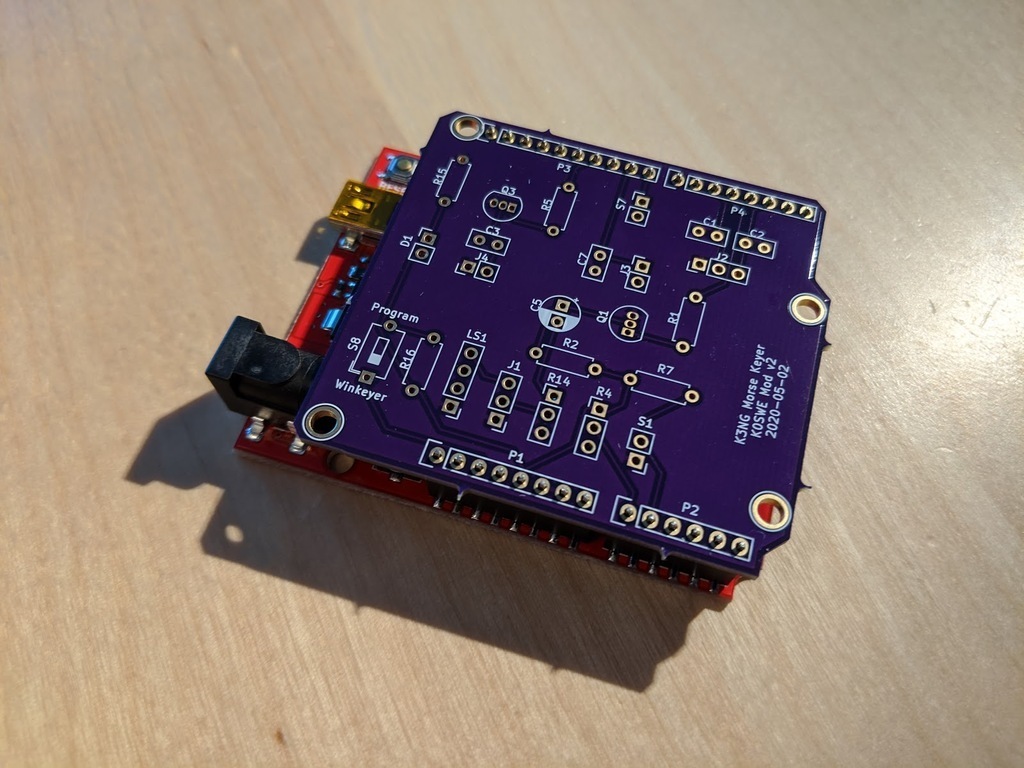
The good news: my PCBs arrived! The bad news: they don’t work, at least not out of the box.
I was super excited to get my custom K3NG keyer boards in the mail!
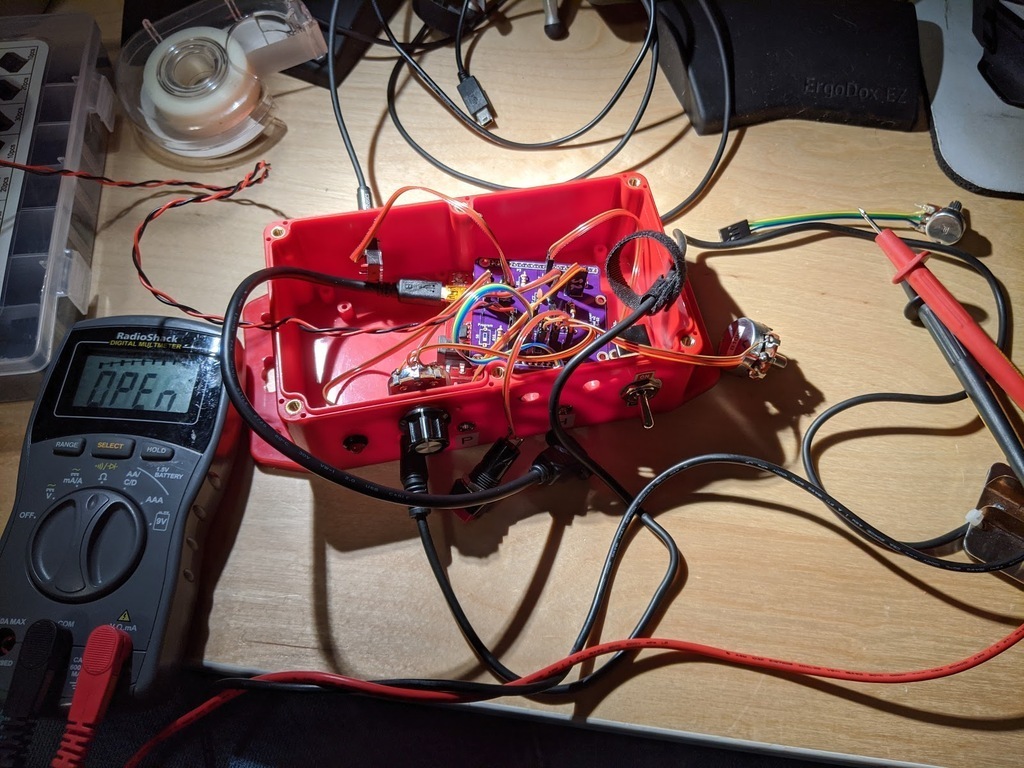
I spent some time soldering components last night, but found that it wasn’t working. My first clue
was that there is no Morse code “HI” on the sidetone speaker, nor do the paddles do anything. The
serial port Winkeyer seems to work, so the Arduino is functioning. Then I tried plugging the
transceiver output into an external practice oscillator and found that it was always grounded. Huh.
I think I found the culprit. Can you spot it?
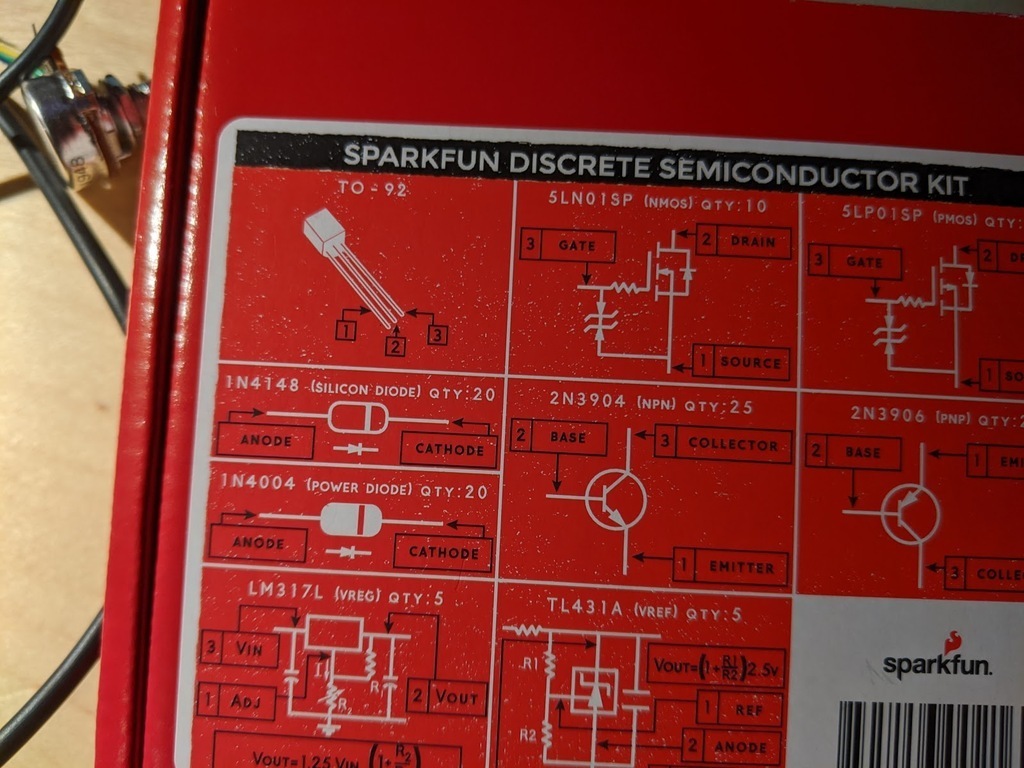
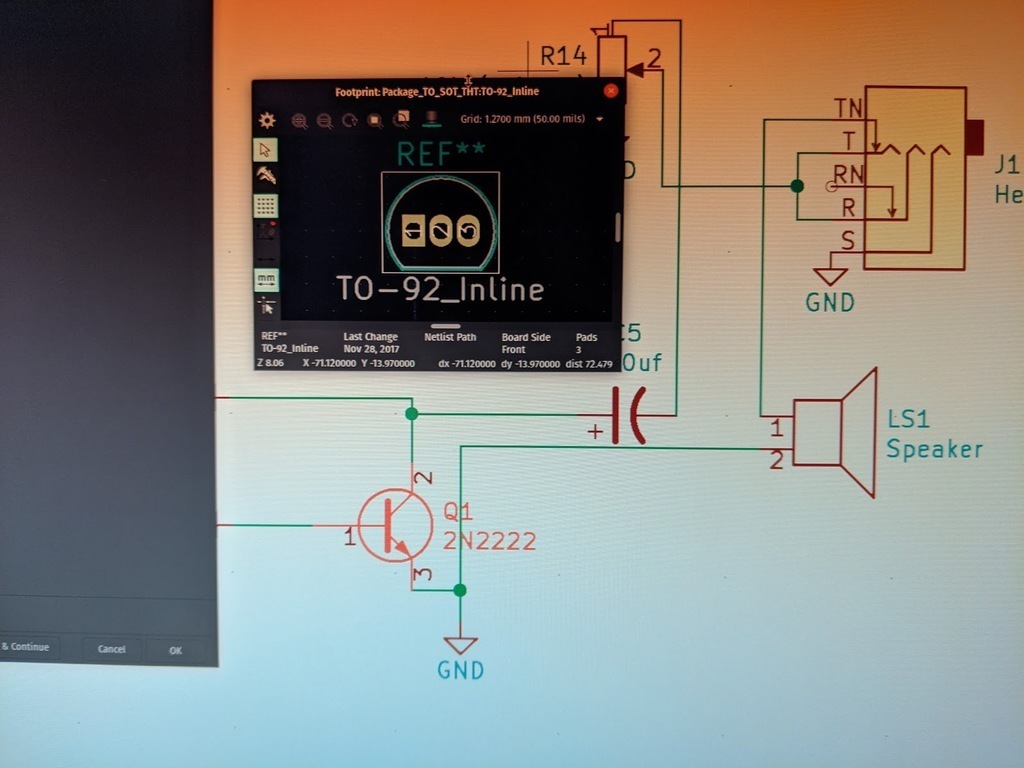
The KiCad footprint has the transistor pins in a different order than the transistors I have. The base, collector and emitter are out of order. Lesson learned: attention to detail, don’t trust KiCad’s footprints to be perfect for your parts.
In another mistake, I chose resistor footprints that were exactly as long as my components, but the resistor leads don’t bend that sharply and so the resistors don’t sit flat. Minor annoyance to fix next time.
Since these are through-hole parts, I think I can desolder the incorrect transistors and finagle new transistors with longer legs into the as-designed holes. I looked briefly for different transistors that would match my board’s pin-out but didn’t immediately see them, and it would take time to order those. For prototyping’s sake, I want to work around this problem quickly and see if the board works otherwise.