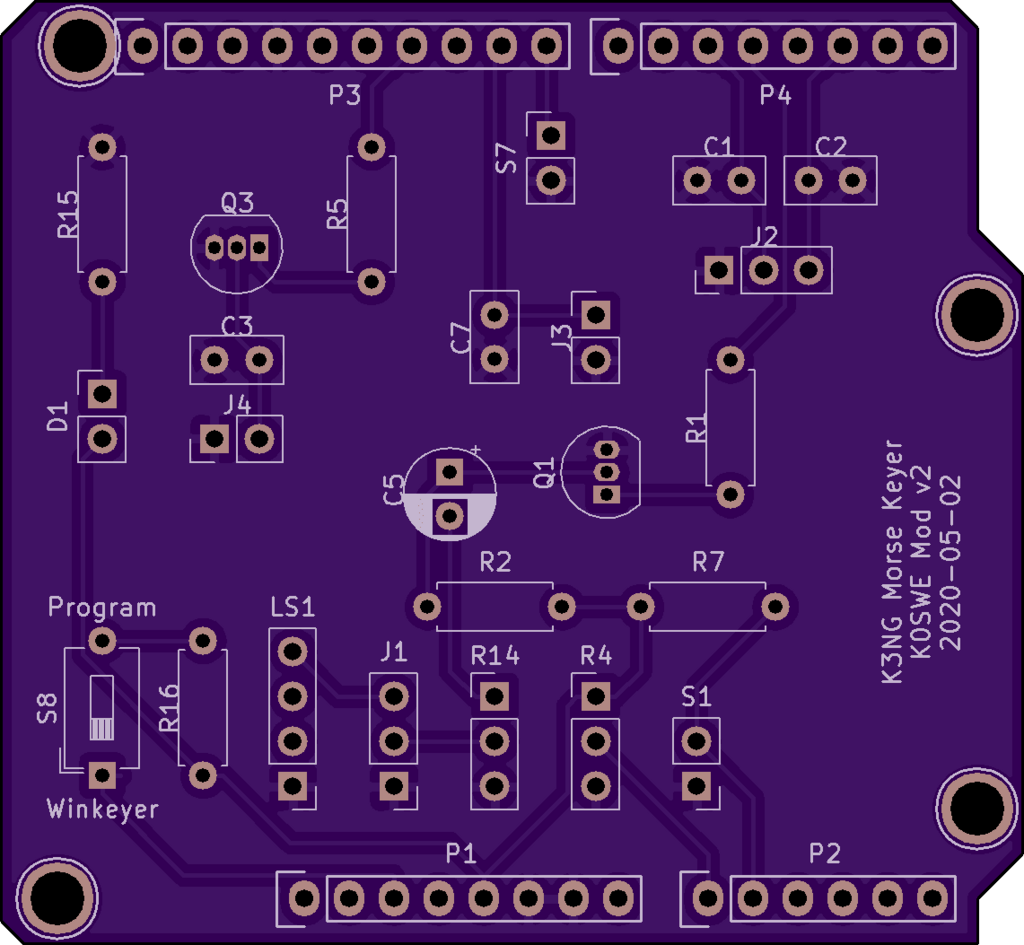
Made my first custom PCB

I’ve been interested in hobby electronics longer than amateur radio. I picked up an Arduino Duemilanove in about 2010 and enjoyed messing around with LEDs, motors and servos. I even designed (but didn’t complete) a “Weasley Clock” that would take me and my wife’s locations from Google Latitude (when that was still a thing), translate it into one of about a dozen discrete locations like “home,” “school” or “work,” and turn stepper motors to display those locations on the hands of a clock. I had the electronics and the software, but never really figured out the mechanical aspects of attaching the steppers to my clock’s hands.
Well, fast forward. About 6 months ago I was messing around with the
K3NG Morse keyer design. I
built a basic one on a breadboard, but decided at that time to purchase a
Mortty kit for its size. I still like the Mortty and if I end up
doing CW work in the field I’ll probably use it for that. However, I’ve recently been back to
learning Morse code, and moving around the Mortty box, a separate code practice oscillator and the
heavy Bencher paddles has been awkward. I wanted to revisit more fully featured variants of the
K3NG design that include built-in sidetone, and it’d be fun to have one that would function as an
HID “keyboard” input for a computer.
I rebuilt the breadboard and started thinking about building it on a proto-shield, but figured there was enough complexity to lay it out beforehand in CAD. I’d played with Frtizing before, mainly for documenting breadboard projects, but that was being cantankerous with the audio jacks I was trying to use. I decided to switch to KiCad, and I’m very glad I did! It’s certainly got a learning curve and some quirks, but after watching a handful of YouTube videos (like overall workflow, using Arduino template) and some other references, I was able to start with an Arduino shield template, bang together a logical schematic, do footprint mappings, and lay out the PCB in the course of a long evening. And of course, once it’s in CAD, you might as well send it off to a fabricator instead of doing in on protoboard, right? This size Arduino shield was about $25 for 3 boards at OSH Park, which definitely compensates for hours of cursing at protoboard and looks much nicer.
I’m still planning to use an enclosure with a bunch of panel-mount components rather than using PCB-mounted components. I have 10 panel-mount components, so I’ll have to get good at crimping Dupont header connectors. Now that I have this feather in my cap, maybe I can look at PCB-mount components and slide-in extruded enclosures in the future.